test
WalletConnect is a powerful protocol that enables phone applications like LOBSTR to connect with other platforms using QR code scanning or deep linking.
The introduction of WalletConnect on LOBSTR allows you to explore the Stellar ecosystem in a brand new easy and secure way.
With WalletConnect 2.0 support, you can now connect your LOBSTR app’s wallet to any desktop platform or service with WalletConnect 2.0 support, including StellarTerm and StellarX.
This opens endless possibilities and allows you to sign any type of transaction without leaving LOBSTR: manage your assets and liquidity positions, trade on SDEX, browse NFTs, transfer funds and pay for services, cast votes and much more.
Review this article to learn more about WalletConnect.
How to sign transactions from connected services with WalletConnect
Once you’re logged in to a Stellar-based service with a WalletConnect login option, you can safely use your LOBSTR app to sign transactions, all without your Private Key ever leaving LOBSTR.
When using WalletConnect, the transaction signing process happens within LOBSTR systems with your Private Key being stored safely in your LOBSTR app. There is no need to put your keys into external service and they are never exposed or transmitted outside of LOBSTR.
Here are the few steps needed to sign transactions:
1. Make sure you are logged in to a Stellar-based service using the WalletConnect option.
If you are not logged in to the service yet, the guide for how to do this can be found here.
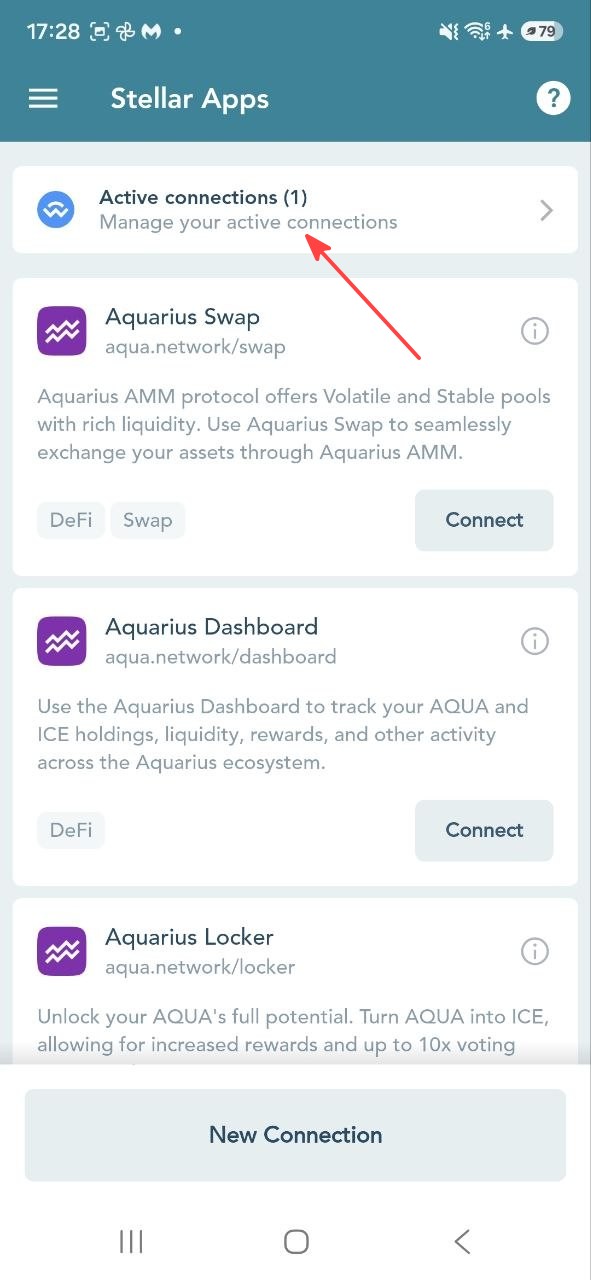
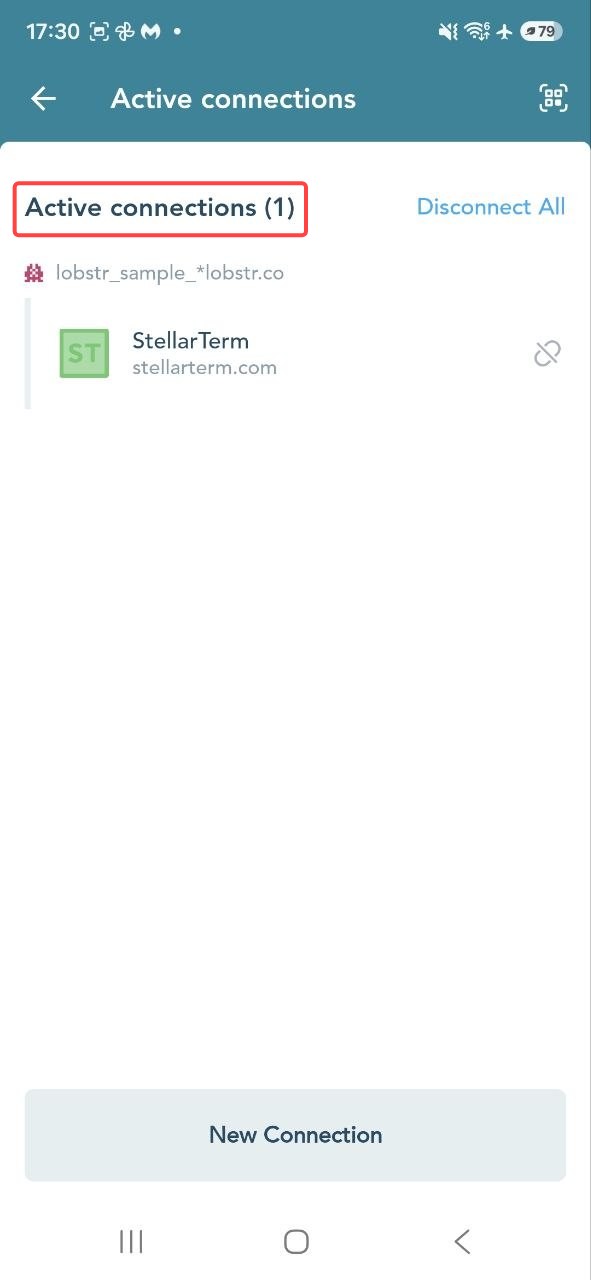
If you have already had an active connection established, open the WalletConnect screen to view the list of your active connections. In this example, we are connected to StellarTerm.
2. Once you’ve connected the LOBSTR app to the service, you will need to stay on the WalletConnect screen to receive signature requests from your connected services.
If you move from the WalletConnect screen to another part of the LOBSTR app, you will need to navigate back to it to receive requests and sign any transactions you submit.
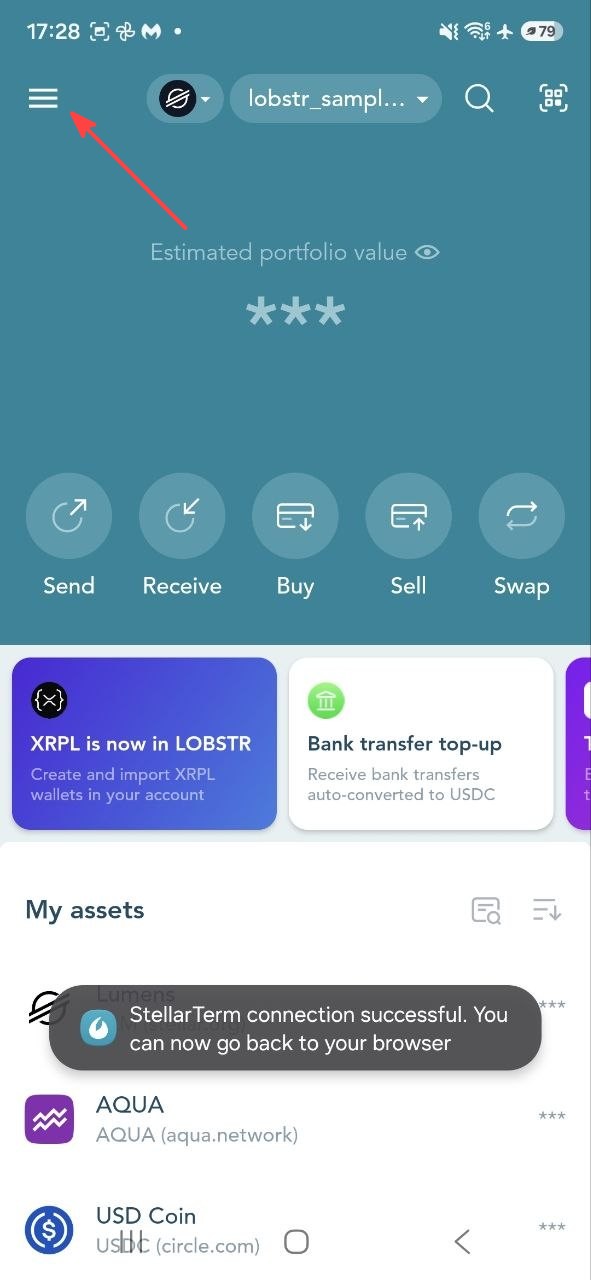
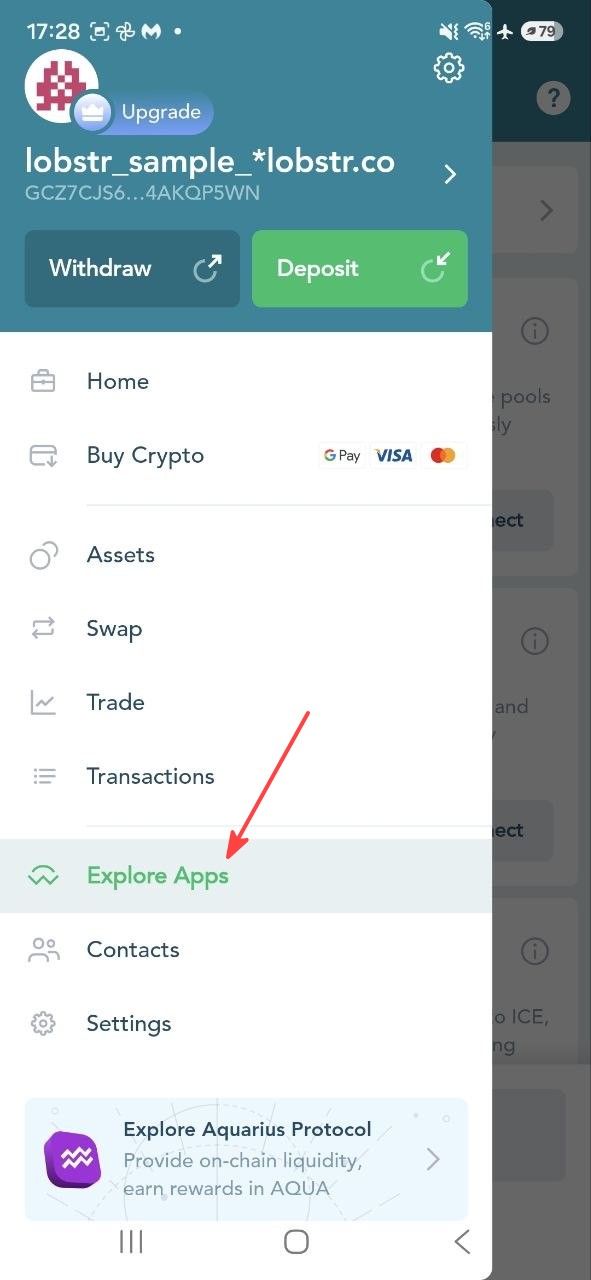
Just open the LOBSTR app on your mobile device, and navigate to the ≡ icon in the top left corner, then select Explore Apps from the menu.
 |  |  |  |
3. Use the connected Stellar-based service to initiate a transaction
As with other login methods, you can perform any actions in the service of your choice when you log in with WalletConnect. For example, you can create a payment and start the process of submitting it to the network when using StellarTerm.

4. Confirm or reject a transaction on the LOBSTR app.
The signature request will appear on LOBSTR app. Preview the transaction details in the 'Signature request' modal or open the full details using the 'View Transaction Details' button on LOBSTR app.
Once you have a good idea about the transaction and its contents, decide to either Reject or Confirm the transaction you submitted.
If you Reject, the transaction will be aborted.
If you Confirm, the transaction will be submitted to the network or the signature service of your choice, like LOBSTR Vault.


It’s that simple to sign transactions securely and safely, all from the LOBSTR app. Using WalletConnect means there is no need to type or copy and paste your Private Keys into a service or connect a hardware device, making it an easier and safer option to use the platform.
Note: You can be connected to multiple services at once and submit transaction requests from multiple services simultaneously.
WalletConnect displays only one transaction request for you to sign at a time. For security reasons, other requests you submit while this one is still undecided will be discarded until you make a decision on the request displayed for you on the screen.
Make sure to confirm or reject the latest request on the LOBSTR app until you submit additional requests for signature.
Was this article helpful?
That’s Great!
Thank you for your feedback
Sorry! We couldn't be helpful
Thank you for your feedback
Feedback sent
We appreciate your effort and will try to fix the article